
Introduction
A perfect cake doesn’t start with mixing the batter — it begins with preparing your oven. Even the most skillfully made batter can turn into a baking disaster if your oven isn’t set up correctly. An oven that’s too hot, too cold, or improperly prepared can cause uneven baking, collapsed centers, or burnt edges. In this guide, we’ll walk through the key steps to prepare your oven before baking a cake so you can achieve consistent, professional-quality results.
Why Oven Preparation Matters
Oven preparation is crucial because cakes are delicate baked goods that rely on consistent heat to rise and set properly. Proper oven setup ensures even heat distribution to prevent one side of the cake from baking faster than the other, correct temperature to ensure the cake rises evenly without collapsing, proper timing to avoid overbaking or underbaking, and better texture and color to give the cake a golden, even finish. Skipping oven preparation can result in dense textures, sunken centers, or overcooked edges.
Step 1: Preheat the Oven
Always preheat your oven before putting in the cake. This ensures the cake starts baking immediately at the right temperature. Set your oven to the temperature stated in your recipe — typically between 325°F (160°C) and 350°F (175°C) for most cakes — and allow at least 15–20 minutes for the oven to reach the desired temperature. Use an oven thermometer to verify accuracy, as many ovens can be off by 10–20 degrees. If your cake requires a lower starting temperature and later increases, follow the recipe exactly for best results.
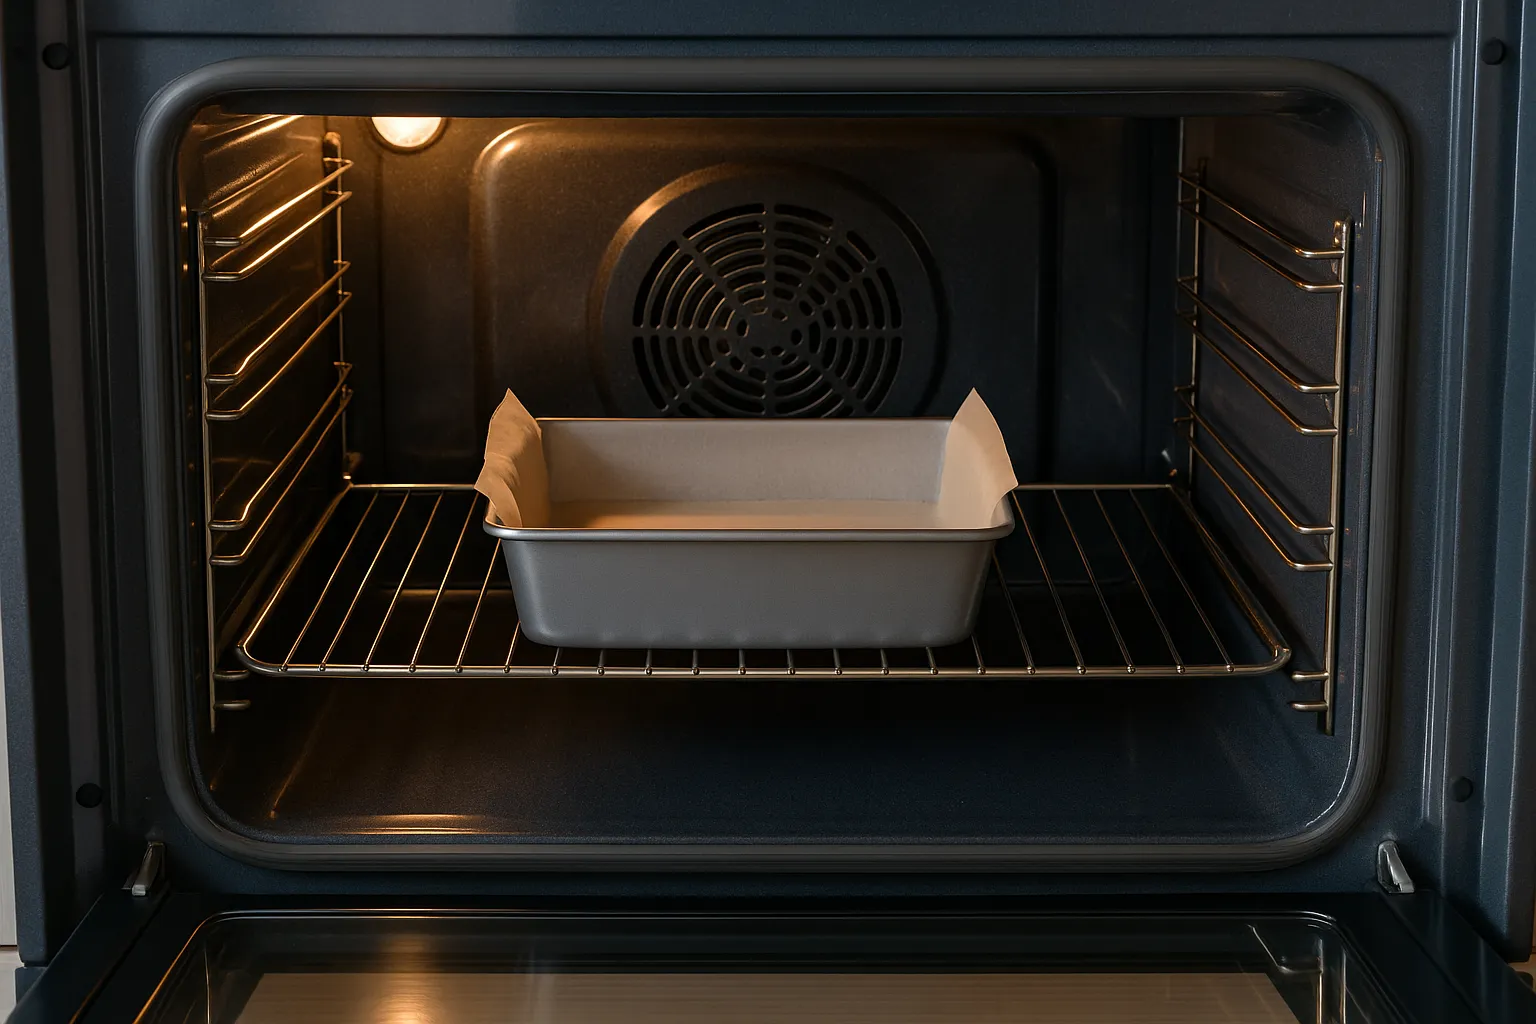
Step 2: Position the Oven Racks
Rack placement affects how heat reaches the cake. The middle rack is best for even heat circulation, the upper rack can brown the top faster but may underbake the bottom, and the lower rack can lead to pale tops and overcooked bottoms. For most cakes, place the rack in the center of the oven so the heat surrounds the pan evenly.
Step 3: Prepare the Baking Pans Before Preheating
Having your pans ready before preheating prevents the batter from sitting too long and losing volume. Grease the bottom and sides with butter or cooking spray, line with parchment paper for easy removal, and lightly flour the greased surface to prevent sticking.
Step 4: Avoid Hot Spots
Some ovens have hot spots where heat is stronger in certain areas, which can cause uneven baking. To check for hot spots, place slices of white bread on a baking sheet, bake at 350°F (175°C) for a few minutes, and check which slices brown more quickly — those areas are hotter. If you identify hot spots, rotate your cake halfway through baking to ensure even cooking.
Step 5: Ensure Proper Air Circulation
Air circulation is key to even baking. Avoid overcrowding the oven with multiple pans unless your recipe calls for it. If baking more than one cake layer, space the pans at least 2 inches apart and do not let pans touch the oven walls.
Step 6: Keep the Oven Door Closed
Opening the oven door during the first 20–30 minutes can cause a sudden drop in temperature, leading to sunken cakes. Check your cake only through the oven window if possible. If you must rotate pans, do it quickly after the cake has set enough to hold its shape.
Step 7: Use the Right Bakeware
Oven performance is affected by the type of pan you use. Light-colored metal pans promote even baking and prevent overbrowning. Dark pans absorb more heat and may require reducing the temperature by 25°F (about 15°C). Glass pans retain heat well but can lead to uneven cooking, so lower the oven temperature slightly if you use them.
Step 8: Adjust for Convection Ovens
If you’re using a convection (fan-assisted) oven, reduce the temperature by about 25°F (15°C) from what the recipe states and check the cake 5–10 minutes earlier than the recipe suggests. Convection ovens circulate air more efficiently, so baking times can be shorter.
Step 9: Stabilize the Temperature Before Baking
Some ovens overshoot the set temperature before settling. Allow your oven to stabilize for a few minutes after preheating before placing the cake inside. If your oven cycles between temperatures, placing a baking stone on the bottom rack can help maintain more even heat.
Step 10: Prepare for Steam or Moisture (Optional)
For certain cakes like cheesecakes or sponge cakes, you may need to create a moist baking environment. Place a shallow pan of hot water on the bottom rack to help prevent cracks and keep the cake moist.
Troubleshooting Common Oven Issues
Uneven baking can be caused by hot spots or incorrect rack placement; rotating the cake halfway through baking and placing it in the center can help. A cake that collapses in the middle might result from an oven temperature that’s too low or opening the door too early — using an oven thermometer and avoiding early door opening can solve this. Overbrowned edges may be due to an oven that’s too hot or dark pans used without adjusting the temperature; lowering the heat slightly and using lighter pans can help.
Frequently Asked Questions (FAQ)
Q1: Can I put my cake in the oven before it’s fully preheated? No — this can lead to poor rise and uneven baking.
Q2: How do I bake multiple cake layers evenly? Use the center rack, space pans apart, and rotate halfway through baking.
Q3: Should I bake with convection or regular setting? Most cake recipes are developed for conventional (regular) baking. Use convection only if you know your oven’s adjustments.
Q4: Do I need an oven thermometer? Yes, it’s the most reliable way to ensure your oven is at the correct temperature.
Conclusion
Preparing your oven before baking is an often-overlooked step that makes a big difference in the quality of your cakes. From preheating to rack placement and temperature checks, every detail matters. By following these steps, you’ll set your cake up for success before it even enters the oven, ensuring even baking, perfect rise, and a beautiful finish.