
Introduction
A birthday cake is more than just dessert — it’s the centerpiece of a celebration. While buying one from a bakery might be easier, making it yourself allows you to personalize every detail, from the flavor and filling to the decorations and the message on top. With the right techniques, you can create a cake that not only tastes amazing but also looks like it came from a professional kitchen.
Step 1: Choose the Flavor
Select a flavor that matches the birthday person’s preferences. Some popular choices are:
- Vanilla sponge with buttercream
- Chocolate fudge with ganache
- Red velvet with cream cheese frosting
- Funfetti for a colorful surprise
- Lemon sponge with fruit filling
Step 2: Decide on the Filling
The filling adds both flavor and texture. Options include:
- Buttercream in various flavors
- Whipped cream with fresh fruit
- Cream cheese frosting
- Chocolate ganache or mousse
- Fruit curds or jams
Pro Tip: Brush each cake layer with flavored simple syrup for extra moisture.
Step 3: Bake the Cake Layers
Ingredients (for two 9-inch layers)
- 2 ½ cups (300g) cake flour
- 2 ½ tsp baking powder
- ½ tsp salt
- 1 cup (230g) unsalted butter, softened
- 2 cups (400g) sugar
- 4 large eggs, room temperature
- 1 cup (240ml) whole milk, room temperature
- 2 tsp pure vanilla extract
Method
- Preheat oven to 350°F (175°C). Grease and line cake pans with parchment paper.
- Whisk flour, baking powder, and salt together.
- Beat butter and sugar until light and fluffy.
- Add eggs one at a time, then vanilla.
- Alternate adding dry ingredients and milk, beginning and ending with dry.
- Divide batter evenly between pans. Bake 25–30 minutes or until a toothpick comes out clean.
- Cool for 10 minutes in the pans, then transfer to wire racks.
Step 4: Level and Stack the Cake
Trim the tops of the layers to make them flat. Place the first layer on a cake board, spread the filling evenly, and stack the second layer on top.
Step 5: Apply a Crumb Coat
Spread a thin layer of frosting over the cake to lock in crumbs. Chill for 20–30 minutes.
Step 6: Frost and Decorate
- Apply the final layer of frosting, smoothing it with an offset spatula.
- Add sprinkles, piping, or themed cake toppers.
- Write a personalized birthday message.
Decoration Ideas:
- Classic: Smooth buttercream with piped borders
- Festive: Rainbow sprinkles covering the sides
- Elegant: Ombre frosting with edible flowers
Step 7: Storage and Serving
Store the cake in a cool room or refrigerate if the filling is perishable. Remove from the fridge 30–60 minutes before serving.
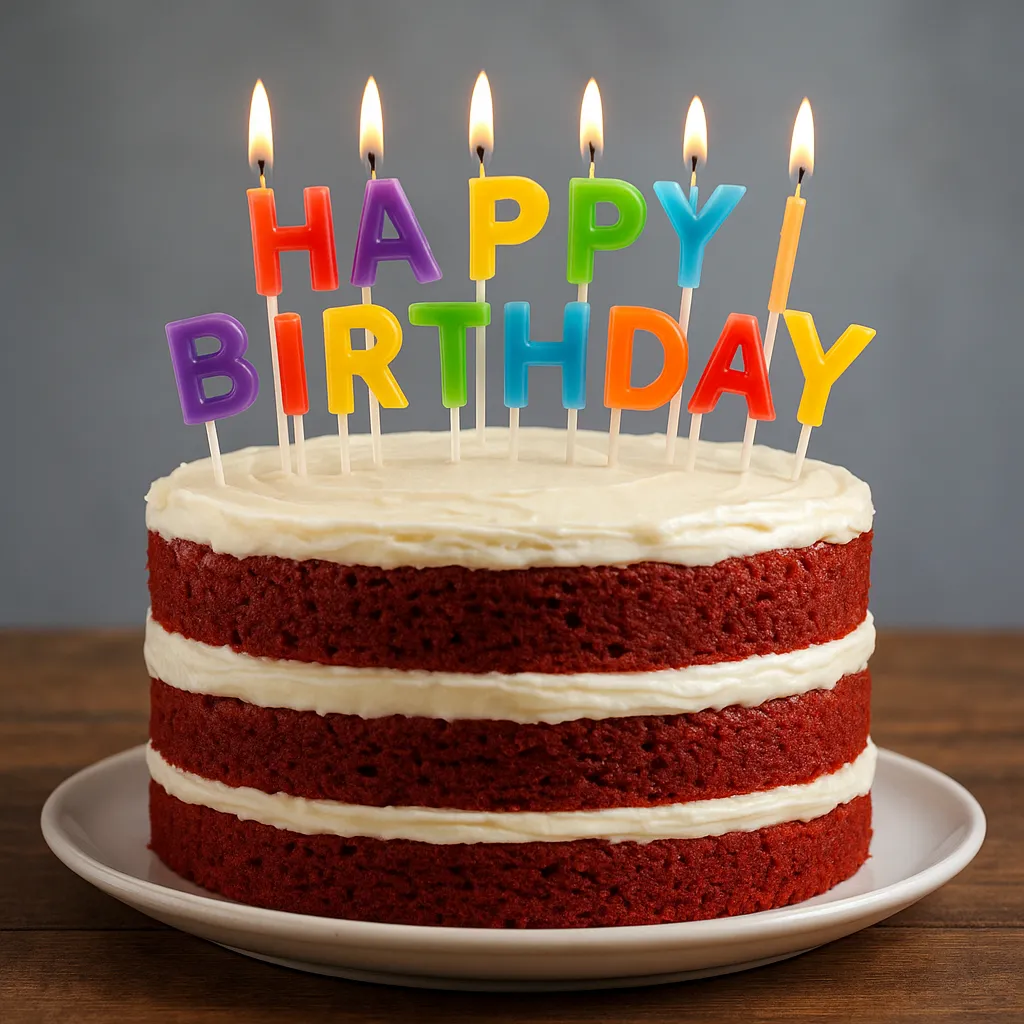
Example: Making a Red Velvet Birthday Cake with Letter Candles
For this example, let’s choose the timeless Red Velvet Cake with cream cheese frosting. To make it, prepare two 9-inch layers using a classic red velvet recipe: sift cake flour, cocoa powder, baking soda, and salt in one bowl; in another, beat butter and sugar until fluffy, then add eggs, red food coloring, and vanilla. Alternate adding the dry ingredients with buttermilk, finishing with a splash of vinegar to enhance the cake’s texture and vibrant red color. Bake until a toothpick inserted in the center comes out clean and cool the layers completely.
Spread a generous layer of cream cheese frosting between the cake layers and cover the entire cake, smoothing the sides and top with an offset spatula for a clean, professional finish. Place the cake on its serving base and decide how you want to present the candles. You can choose colorful letter candles that spell out “HAPPY BIRTHDAY,” evenly spacing them across the top, or opt for number candles that display the age the birthday person is celebrating — for example, “25” for a 25th birthday. If you prefer, combine both: place the age in the center and surround it with smaller letter candles for a festive touch. Light the candles just before presenting the cake to create that perfect, memorable birthday moment.
Pro Tips for a Professional Finish
- Use a turntable for easier frosting application.
- Keep frosting tools clean for sharp edges.
- Chill the cake between decorating steps for better control.
- Insert a central dowel for tall cakes.
Frequently Asked Questions (FAQ)
Q: Can I bake the cake layers ahead of time?
A: Yes, wrap them well and freeze for up to 2 months. Thaw before frosting.
Q: What’s the easiest decoration for beginners?
A: Smooth buttercream with sprinkles or a piped border.
Q: Can I use whipped cream instead of buttercream?
A: Yes, but it’s less stable and should be used for same-day serving.
Conclusion
Making a birthday cake at home is an opportunity to add a personal touch to someone’s special day. By following these steps and taking your time with the details, you can create a cake that’s both beautiful and delicious — and a centerpiece that will be remembered long after the candles are blown out.