
Introduction
Few baking frustrations compare to spending time and care on a cake, only to have it break or stick when removing it from the pan. Whether you’re baking a simple sponge, a rich chocolate layer, or an elaborate multi-tiered creation, proper removal is essential to maintain its structure, texture, and appearance. The good news? With the right preparation before baking and the proper technique afterward, you can release any cake cleanly and without damage — every single time.
Why Cakes Stick to the Pan
Cakes often stick because of insufficient greasing, batter seeping and caramelizing around the edges, using the wrong type of pan, or attempting removal before the cake has cooled enough to set its structure. High-sugar batters are especially prone to sticking because sugar melts during baking and can bond to the pan’s surface. Similarly, very moist batters can cling to unlined pans if not properly prepared.
Other contributing factors include:
- Old or scratched pans: Rough surfaces grip batter more.
- Skipping parchment paper: Even non-stick pans benefit from a parchment liner.
- Overbaking: A dry crust can become brittle and stick to the pan edges.
Step-by-Step Guide to Removing a Cake Safely
1. Prepare the Pan Before Baking
- Grease the entire interior with butter, shortening, or non-stick spray. Pay attention to corners and edges.
- Line the base with parchment paper cut to fit precisely; this is one of the most effective preventatives.
- Dust with flour after greasing. For chocolate cakes, use cocoa powder instead of flour to avoid white streaks and preserve flavor.
2. Let the Cake Cool Properly
- Allow the cake to cool in the pan for about 10–15 minutes after baking. This allows the structure to firm up enough to handle movement.
- Don’t rush: removing it while piping hot can cause tearing, while leaving it too long in the pan can trap steam, making the bottom soggy and encouraging sticking.
3. Loosen the Edges
- Run a thin offset spatula or butter knife gently around the edges. Keep the blade flush with the pan to avoid cutting into the cake.
- For decorative or bundt pans, take your time and work the tool into each curve.
4. Invert the Cake
- Place a wire cooling rack or plate on top of the pan.
- Hold the rack and pan firmly together, then flip in one confident motion.
- Let gravity help — avoid shaking violently, which can crack delicate cakes.
- If parchment was used, peel it off gently while the cake is still slightly warm.
5. For Stubborn Cakes
- Place the pan over a warm, damp kitchen towel for a few minutes. The gentle steam helps release the bottom.
- Alternatively, rest the base of the pan over a pot of simmering water (without the water touching the cake) for 30–60 seconds to loosen the crust.
- Give the inverted pan a few light taps to help release suction.
6. Special Techniques for Certain Cakes
- Cheesecakes: Use springform pans lined with parchment. Chill completely before releasing.
- Bundt Cakes: Grease thoroughly with a pastry brush to reach all crevices, dust lightly with flour, and cool for exactly 10–12 minutes before inverting.
- Angel Food Cakes: Bake in ungreased tube pans, then run a long knife around the sides and center tube before pushing the cake out.
Tools That Help
- Non-stick pans in good condition
- Parchment paper or reusable silicone liners
- Offset spatula for loosening edges
- Wire cooling rack for even air circulation during cooling
- Kitchen timer to ensure cakes aren’t left too long in the pan
Preventative Tips for Future Bakes
- Always prep your pans before mixing batter — once leaveners activate, you need to bake immediately.
- Match pan size and shape to the recipe; overfilled pans are harder to unmold without damage.
- For multi-layer cakes, bake in separate pans rather than cutting thick cakes in half; this reduces stress during removal.
- If baking delicate layers, consider chilling them briefly before removal for added stability.
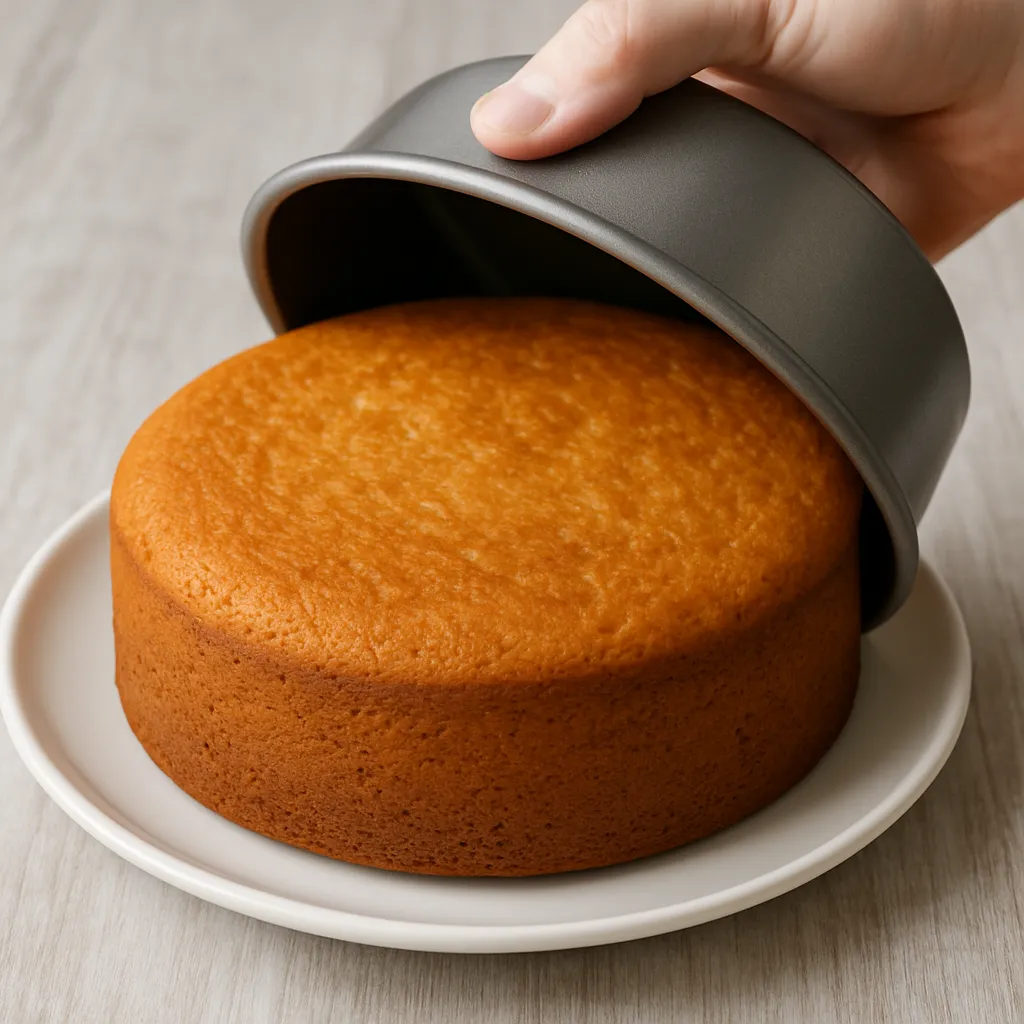
Practical Example: Removing a Round Vanilla Sponge
Imagine baking a light vanilla sponge in a 9-inch round aluminum pan. You’ve greased it, lined the bottom with parchment, and floured the sides. After baking, you let it cool in the pan for exactly 12 minutes. Then, you run a thin offset spatula around the edges, place a wire rack over the top, and flip in one smooth motion. The cake slides out cleanly, parchment is removed, and the sponge cools completely before frosting. This process ensures a perfect surface for decorating, with no torn edges or broken layers.
Frequently Asked Questions (FAQ)
Q1: Can I remove a cake while it’s still hot?
No. Hot cakes are extremely fragile and prone to breaking. Always cool slightly before removal.
Q2: My cake still sticks even with parchment. Why?
Edges might not be greased enough, or sugar from the batter may have caramelized against the sides.
Q3: Can I use wax paper instead of parchment?
No. Wax paper is not heat-safe and can melt in the oven.
Q4: What’s the best way to remove a bundt cake?
Grease and flour thoroughly, cool for 10–15 minutes, and tap gently before inverting.
Q5: How do I remove cupcakes without damaging them?
Let them cool completely in their liners; they’ll naturally release when unwrapped.
Q6: Should I always use a non-stick pan?
It helps, but proper preparation with grease and parchment is still the safest approach.
Q7: Can freezing help remove a delicate cake?
Yes. Briefly chilling or freezing a fragile cake can firm it up and make it easier to handle.
Q8: How do I handle removing multiple thin layers?
Remove each onto its own parchment-covered rack to prevent sticking and breakage.
Q9: How do I remove a cake from a shaped or novelty pan?
Use a pastry brush to grease every detail, dust lightly with flour, and take extra time loosening edges before inverting.
Q10: My cake cracked when I flipped it. What happened?
It may have cooled unevenly, been overbaked, or removed too quickly. Next time, allow even cooling and handle gently.
Conclusion
Removing a cake from its pan without breaking it is about preparation, timing, and gentle technique. By greasing and lining the pan properly, cooling the cake just enough, and using the right tools, you can ensure your cakes come out smooth, intact, and ready to decorate. Whether it’s a simple everyday sponge or an intricate bundt, these methods give you the confidence to unmold with ease. Once you master this process, you’ll never dread that critical moment again — instead, you’ll look forward to revealing a perfectly baked cake every time.