
Introduction
The naked cake is a popular dessert trend that emphasizes simplicity and rustic beauty. With minimal frosting on the outside, the cake layers are left exposed, showcasing the cake’s natural texture and the beautiful fillings in between. This style is perfect for modern weddings, birthdays, or any occasion where you want a beautiful yet simple dessert that doesn’t overwhelm the senses with excessive frosting. In this article, we’ll guide you step by step on how to make a naked cake, from preparing the layers to the final touches.
What Makes a Naked Cake Different?
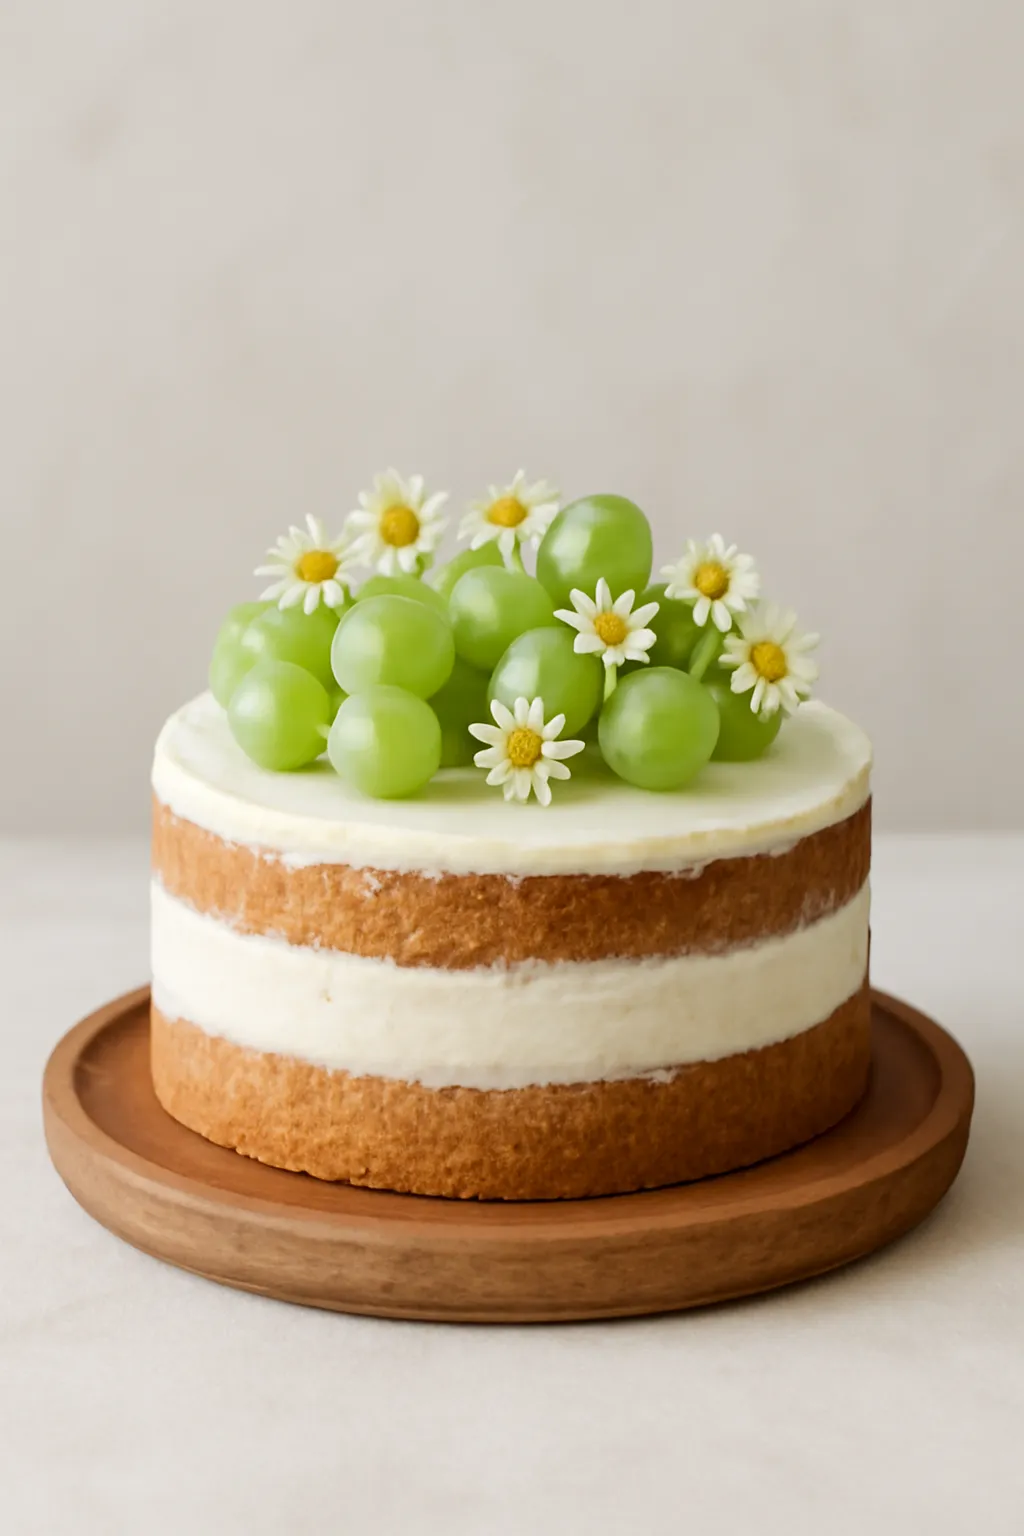
A naked cake is a cake that’s intentionally left unfrosted on the sides, with only a light coating of frosting or filling between the layers. The exposed layers give the cake a rustic, unfinished look, which has become very trendy in recent years.
While traditionally naked cakes were minimalist in design, today they are often adorned with fruits, flowers, and other decorations to add beauty and color to the exposed cake layers.
Choosing the Right Cake for a Naked Cake
The key to a successful naked cake is choosing the right type of cake. It should be sturdy enough to hold the weight of the frosting and fillings without collapsing. Here are some cake options that work well for a naked cake:
- Vanilla sponge cake: Light and airy, with a neutral flavor that pairs well with a variety of fillings.
- Chocolate cake: Rich and decadent, perfect for a more indulgent naked cake.
- Carrot cake: Dense and moist, with spices that add flavor to the cake layers.
- Red velvet cake: Beautifully colored and moist, with a delicate crumb.
It’s essential that the cake layers are not too delicate or crumbly. Choose a recipe that creates a sturdy cake that can support the filling and frosting without falling apart.
Step 1: Bake Your Cake Layers
Bake your cake layers as you normally would, ensuring that the cake pans are lined and greased for easy removal. If you want even layers, it’s important to evenly distribute the batter into the pans.
For a classic naked cake, bake at least two to three layers. Depending on the size of the cake, you can add more layers for height. Allow the cake layers to cool completely before assembling.
If the cake layers have domed tops, level them with a serrated knife or cake leveler to create a flat surface. This will ensure the layers stack evenly and look neat.
Step 2: Prepare the Filling and Frosting
For a traditional naked cake, the frosting should be light and not overly thick. Buttercream or cream cheese frosting are the most common choices, as they spread easily and hold up well between layers.
- Buttercream frosting: Soft and smooth, it can be flavored with vanilla, chocolate, or fruit purées.
- Cream cheese frosting: Slightly tangy and rich, perfect for pairing with carrot or red velvet cakes.
- Whipped cream frosting: Lighter than buttercream, this gives a fluffier texture and is perfect for a more airy cake.
Prepare the frosting and filling in advance. You can also add layers of fruit preserves, fresh fruit, or even jam for added flavor and color. These fillings can be used between layers for a moist, flavorful cake.
Step 3: Assemble the Cake
Once your cake layers are completely cool, start by placing the first layer on a cake board or serving platter.
- Spread frosting or filling: Use a spatula to spread a thin, even layer of frosting or filling over the top of the first cake layer. Don’t overdo it — a thin layer is key to the naked cake look.
- Add the next layer: Gently place the second cake layer on top of the frosting. Press down slightly to ensure the layers are stacked evenly. Repeat this process for additional layers if desired.
- Ensure even filling distribution: As you continue layering the cake, ensure the frosting or filling is evenly spread. If you are using a fruit preserve or jam, make sure it is spread evenly to avoid large clumps of filling.
Step 4: Frost the Sides of the Cake
Once the layers are stacked, it’s time to add the final frosting. Unlike traditional cakes, you don’t need to fully coat the sides of a naked cake.
- Apply a crumb coat: First, spread a thin crumb coat of frosting over the entire cake to seal in any crumbs. This coat should be light and should allow some of the cake to peek through. Chill the cake for 20–30 minutes to set the crumb coat.
- Add the final layer of frosting: After the crumb coat has set, apply a very light and thin layer of frosting to the top and sides of the cake. The goal is to leave some areas exposed, so don’t over-apply the frosting. Use a spatula to smooth it out, and gently scrape the sides to reveal the cake layers underneath.
Step 5: Decorate the Cake
The beauty of a naked cake is in its simplicity, but that doesn’t mean you can’t add some elegant decorations to make it stand out.
- Fresh flowers: Fresh edible flowers like roses, daisies, or lavender can make your naked cake look elegant and rustic. Arrange them on top of the cake or around the base.
- Fruits: Fresh fruits like berries, citrus slices, or pomegranate seeds add a burst of color and freshness to the cake. Arrange them artfully on top or around the sides.
- Nuts and herbs: Toasted nuts like almonds, pecans, or hazelnuts can add texture, while fresh herbs like mint or basil can add a touch of greenery.
- Candies and chocolate: If you want to add a playful element, consider decorating the cake with candies, chocolate shavings, or chocolate drips.
- Edible glitter or powdered sugar: For a touch of sparkle, lightly dust the top of the cake with edible glitter or powdered sugar. This can add a subtle shimmer to your naked cake.
Step 6: Serve and Enjoy
Once your naked cake is decorated, let it chill in the fridge for about 30 minutes to set the frosting. When you’re ready to serve, slice the cake carefully and enjoy! The beauty of a naked cake lies in its rustic and simple appearance, which contrasts beautifully with the vibrant fillings and decorations inside.
Tips for Success
- Chill the cake layers: If your cake layers are too soft to stack or frost, chill them in the fridge for an hour or two before assembling. This will help the cake hold its shape.
- Use a cake board: A cake board or serving platter will make it easier to transfer the naked cake and help it stay stable during assembly.
- Experiment with flavors: While classic naked cakes often feature vanilla or chocolate, feel free to get creative with flavor combinations. Try fruit-flavored cakes like lemon, strawberry, or raspberry.
- Work quickly with fresh fruit: Fresh fruit can start to wilt or lose its texture quickly. Add fresh fruit decorations right before serving.
Frequently Asked Questions (FAQ)
Q1: Can I use buttercream for a naked cake?
Yes, buttercream is often used for naked cakes because it spreads easily and holds up well between layers.
Q2: How can I prevent the frosting from melting?
Ensure that the cake is fully cooled before decorating and keep the cake refrigerated until serving.
Q3: Can I make a naked cake ahead of time?
You can bake the cake layers a day or two in advance, but it’s best to assemble and decorate the cake on the day of serving to maintain its freshness.
Q4: Can I make a naked cake with multiple tiers?
Yes, a multi-tiered naked cake can look stunning for weddings or large events. Just ensure the layers are sturdy enough to support the weight.
Conclusion
A naked cake is a beautiful and modern dessert that highlights the cake’s natural beauty and flavor. By following these simple steps, you can create a stunning and delicious naked cake for any occasion. With minimal frosting, fresh ingredients, and a bit of creativity, you can design a cake that’s not only visually appealing but also a treat for the taste buds.