
Introduction
Whipped cream is a classic and versatile topping that adds both lightness and richness to cakes. Whether you’re preparing a simple dessert or a luxurious multi-layered cake, whipped cream can enhance the flavor and appearance with its airy texture and subtle sweetness. In this article, we will explore how to decorate cakes with whipped cream, from the basic techniques to advanced decorating ideas, ensuring you get that perfect look and taste every time.
Why Use Whipped Cream for Decorating Cakes?
Whipped cream offers several advantages as a cake decorating medium:
- Light texture: It’s airy and light, making it an ideal choice for cakes that should feel soft and not overly sweet.
- Versatile: It pairs well with a variety of cake flavors, from chocolate to fruit-based cakes, and complements both rich and lighter batters.
- Neutral sweetness: Whipped cream isn’t as sugary as buttercream or fondant, allowing the cake’s flavors to shine through.
- Simple to prepare: It requires minimal ingredients and doesn’t need a lot of preparation time, making it a quick and efficient option.
However, whipped cream also has some challenges, particularly its tendency to deflate or melt quickly at room temperature, so it’s important to use the right techniques to keep it looking fresh and stable.
Basic Whipped Cream Recipe
To start decorating with whipped cream, you need the perfect whipped cream base. Here’s a simple recipe:
Ingredients:
- 1 cup heavy cream
- 2 tablespoons powdered sugar
- 1 teaspoon vanilla extract
Instructions:
- Chill a mixing bowl and beaters in the refrigerator for 15 minutes before using.
- Pour the heavy cream into the chilled bowl and begin whipping on medium speed.
- As the cream begins to thicken, add powdered sugar and vanilla extract.
- Increase the speed to high and continue whipping until soft peaks form.
- Be careful not to overwhip, as it can turn the cream into butter.
This whipped cream will be perfect for spreading on cakes or piping designs.
How to Spread Whipped Cream on Cakes
1. Apply a Crumb Coat
Before applying whipped cream, it’s a good idea to apply a thin layer of whipped cream to seal in any crumbs. This is known as a “crumb coat.” It helps create a smooth surface and prevents crumbs from mixing into the final layer of whipped cream.
- Apply a thin layer of whipped cream to the entire cake using an offset spatula or a butter knife.
- Refrigerate the cake for about 20 minutes to allow the crumb coat to set before applying the final layer.
2. Smooth and Even Layer
Once the crumb coat has set, apply a thicker layer of whipped cream to the top and sides of the cake. Use an offset spatula to smooth the cream evenly, starting from the center and working your way outward.
- For a smooth finish, you can use a bench scraper or a straight edge to remove excess whipped cream and create clean sides.
- If you want a rustic look, use the spatula to create swirls and texture on the surface.
3. Adding Decorative Swirls
For a more decorative approach, use a piping bag fitted with a star or round tip to pipe whipped cream onto the cake. You can create a variety of effects, such as rosettes, ruffles, or swirls, depending on the tip and technique.
- For rosettes, start at the center and swirl outward in a circular motion.
- For ruffles, pipe a continuous line of whipped cream, pressing the piping bag to form a ripple effect.
Advanced Decorating Techniques with Whipped Cream
1. Whipped Cream Flowers
Using a petal tip (like the Wilton #104), you can pipe delicate flowers onto your cake. Start by piping a base layer of whipped cream in a circular pattern. Then, build the petals around the center, gradually making the petals larger as you work outward.
- Use green whipped cream or fondant to create leaves and stems to complement the flowers.
2. Whipped Cream Ruffles
Whipped cream ruffles are a beautiful way to create texture on a cake.
- Use a large star tip and pipe a continuous line of whipped cream along the edges of the cake.
- Vary the size of the ruffles for a more dynamic look, or layer them on top of one another for a more dramatic effect.
3. Layered Whipped Cream Designs
Another creative option is to use layers of whipped cream to create intricate patterns.
- Pipe lines of whipped cream in different directions (horizontal, vertical, diagonal) to create a crisscross pattern.
- You can also use a comb or spatula to create textured patterns in the whipped cream by gently pulling it in different directions.
4. Whipped Cream with Fresh Fruit and Decorations
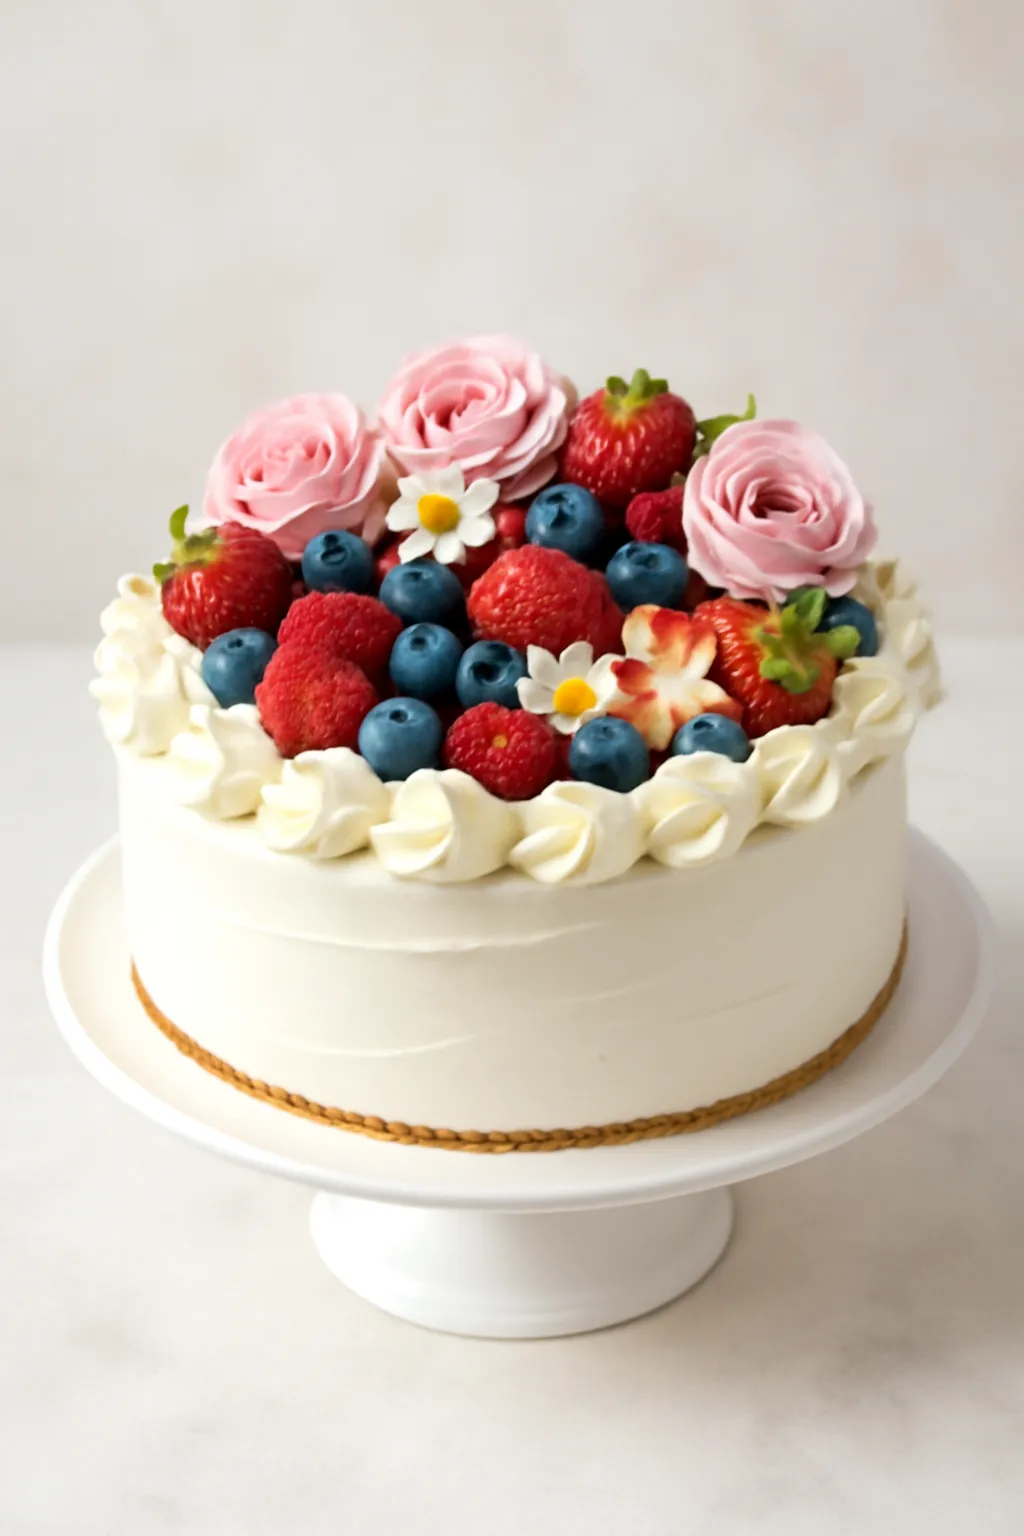
One of the simplest yet most stunning ways to decorate a cake with whipped cream is to top it with fresh fruits, edible flowers, or even candy decorations.
- Berries like strawberries, raspberries, and blueberries add natural color and freshness.
- Flowers like pansies, violets, or marigolds can add an elegant, natural touch.
- For a whimsical touch, sprinkle the top with colorful candy or chocolate shavings.
Tips for Decorating with Whipped Cream
1. Stabilize the Whipped Cream
For cakes that need to stand up to warmer temperatures or longer display times, you may want to stabilize your whipped cream. This can be done by adding a stabilizer like gelatin or cornstarch, or by using a commercial whipped cream stabilizer.
- To stabilize with gelatin: Dissolve 1 teaspoon of gelatin in 2 tablespoons of cold water, then heat gently until liquid. Add this to the whipped cream while it’s still soft but not fully whipped.
- Cornstarch can also be added to the whipped cream to help it hold its shape.
2. Use Cold Equipment
To prevent whipped cream from melting too quickly, chill your mixing bowl, beaters, and even the heavy cream in the refrigerator before whipping.
3. Work Quickly
Whipped cream can melt at room temperature, so it’s important to decorate the cake quickly after whipping. If you need to take a break, refrigerate the cake to prevent the whipped cream from losing its texture.
4. Storage
Whipped cream-decorated cakes should be stored in the refrigerator, especially if they contain perishable fillings or toppings. Cakes decorated with whipped cream should be eaten within 1–2 days for the best texture and taste.
Frequently Asked Questions (FAQ)
Q1: Can I make whipped cream ahead of time for decorating?
You can make whipped cream ahead of time, but it’s best used within 24 hours. If storing longer, consider stabilizing it to prevent it from deflating.
Q2: How can I prevent whipped cream from melting on a warm cake?
Ensure your cake is completely cooled before decorating, and keep the whipped cream chilled until you’re ready to use it.
Q3: Can I pipe whipped cream decorations onto a cake the day before?
Yes, but keep the cake in the refrigerator to prevent the whipped cream from melting or softening. If possible, decorate the cake on the day it will be served for the best results.
Q4: Can I use whipped cream instead of frosting?
Yes, whipped cream is a great alternative to heavier frostings like buttercream. It’s light and refreshing, especially when paired with fruit-based cakes.
Conclusion
Whipped cream is a timeless and versatile decorating option for cakes, offering a light, airy texture and a delicate sweetness. Whether you’re creating rosettes, piping flowers, or simply adding a dusting of cream to a simple cake, it’s an easy way to elevate your dessert. By following the tips and techniques in this guide, you can master the art of decorating cakes with whipped cream and create beautiful, delicious treats that are sure to impress.