
Introduction
There’s nothing more frustrating than spending time baking a cake, only to have it stick to the pan and tear apart when you try to remove it. Fortunately, there’s an easy solution that ensures your cakes release smoothly every time: parchment paper. This simple tool is a baker’s best friend, making cake removal hassle-free while ensuring a clean, intact cake for frosting and decorating. In this article, we’ll show you how to use parchment paper effectively to prevent cakes from sticking, along with tips and techniques for optimal results.
Why Parchment Paper Works So Well
Parchment paper is coated with a non-stick surface that provides a barrier between the batter and the pan. It also helps to absorb excess moisture, creating a perfect baking environment that prevents the cake from sticking. Unlike greasing and flouring the pan, parchment paper creates an even, smooth surface that’s less likely to cause the cake to tear when removed. It’s an essential tool for ensuring your cakes come out of the pan intact, with minimal effort.
Types of Parchment Paper
There are two main types of parchment paper: bleached and unbleached.
- Bleached parchment paper is white and has been treated with chlorine.
- Unbleached parchment paper is brown and made without chlorine. Both types are heat-resistant and have the same non-stick properties, so the choice is based on personal preference.
There’s also silicone-coated parchment paper, which has an extra layer of non-stick coating, making it ideal for particularly sticky or delicate cakes. These varieties are generally higher in quality and more durable, ensuring even better results in the kitchen.
How to Line a Cake Pan with Parchment Paper
1. Measure and Cut the Parchment Paper
Start by measuring the bottom of your cake pan. Lay the pan on a sheet of parchment paper and trace around the bottom with a pencil or pen. Cut the parchment paper to fit the base of the pan. For round pans, you can simply cut a circular piece; for square or rectangular pans, cut a rectangle that matches the pan’s dimensions.
If you’re lining a deep pan, you can also cut strips of parchment paper that fit the sides of the pan. This will help prevent sticking on the edges as well.
2. Prepare the Pan
Before placing the parchment paper in the pan, lightly grease the bottom and sides of the pan with butter, oil, or non-stick spray. This will help the parchment paper adhere to the pan and prevent it from shifting during the baking process.
3. Place the Parchment Paper in the Pan
Now, place the parchment paper in the bottom of the pan, ensuring it fits snugly against the sides. If you’re using a square or rectangular pan, press the edges of the paper into the corners. For round pans, it should easily cover the bottom. You can also grease the top of the parchment paper to prevent it from sticking to the cake during baking.
4. Optional: Line the Sides of the Pan
For extra insurance against sticking, you can also line the sides of the pan with parchment paper. Cut strips of parchment paper long enough to cover the sides and place them against the walls of the pan. You can overlap the strips if necessary to make sure the entire surface is covered.
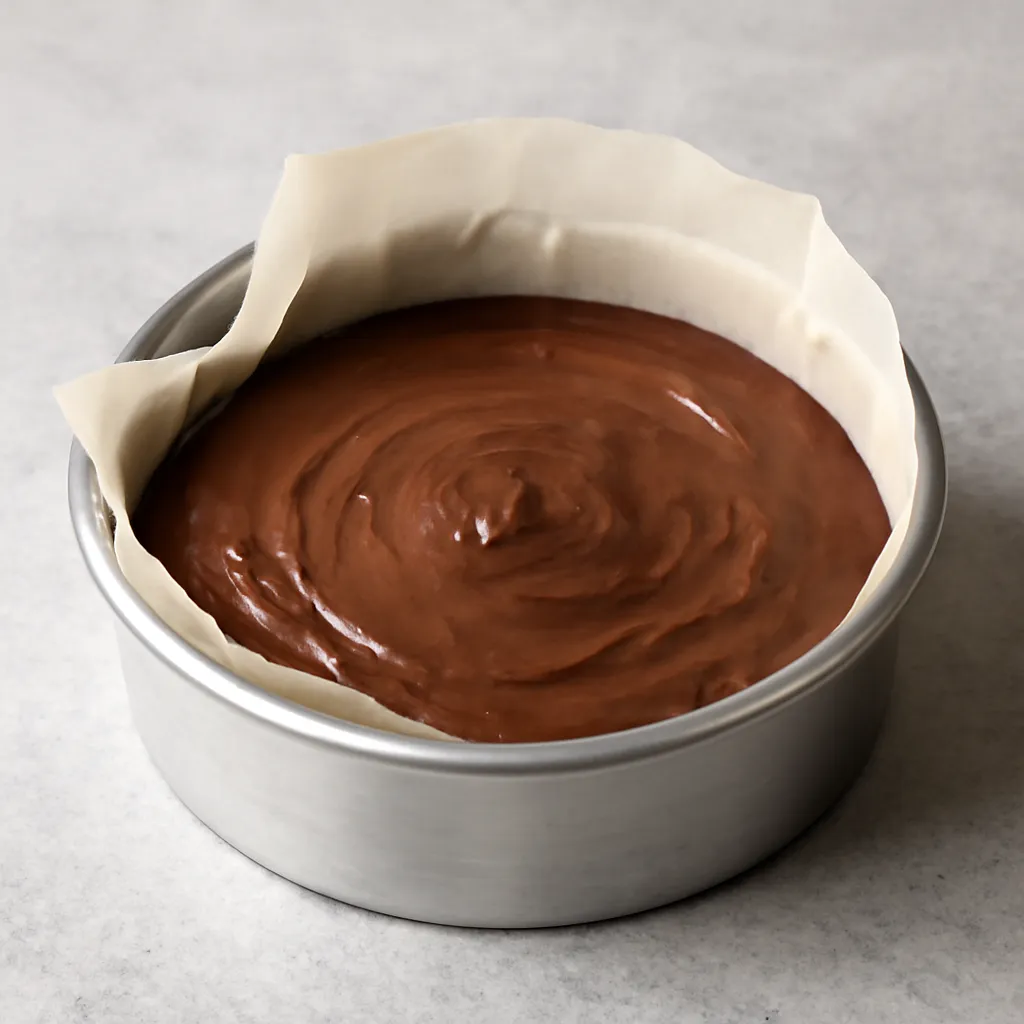
5. Add the Cake Batter
Once the pan is lined with parchment paper, you can add your cake batter. Be sure to spread the batter evenly in the pan, filling it no more than two-thirds of the way full to allow the cake to rise properly.
Additional Tips for Using Parchment Paper
Using Parchment Paper for Round Pans
If you’re working with a round cake pan, cutting a parchment paper circle to fit the bottom is a great idea. To make the circle:
- Lay the parchment paper flat and place the pan on top.
- Trace the outline of the pan with a pencil or pen.
- Cut the circle, then fit it into the pan.
For added protection, you can also line the sides with parchment paper strips.
How to Remove the Cake from the Pan
Once your cake has finished baking, let it cool for about 10–15 minutes in the pan. Gently run a knife around the edges of the pan to loosen the cake. Then, use the parchment paper to lift the cake out of the pan. If you’ve lined the pan with strips of parchment paper, you can easily lift the entire cake out by the edges of the paper, making the process quick and clean.
How to Store Parchment Paper
To keep your parchment paper in good condition, store it in a cool, dry place. Avoid leaving it in humid areas, as moisture can cause it to lose its non-stick properties. Parchment paper can also be reused a couple of times for baking, as long as it’s not too soiled or torn.
Reusing Parchment Paper
If you’re baking more than one cake, you can reuse parchment paper for the next batch. As long as it’s not too greasy or burnt, parchment paper can be reused for multiple bakes, saving you time and money. Just make sure it’s still intact and free of any debris.
Troubleshooting Common Parchment Paper Issues
Parchment Paper Is Not Lining the Pan Properly
If the parchment paper is not fitting well, you can try lightly greasing the inside of the pan first, or crumpling the parchment paper and then smoothing it out. This softens the paper and makes it easier to fit into the pan’s contours.
Cake Sticking to Parchment Paper
If your cake still sticks to the parchment paper, it could be due to the type of batter used. Very sticky batters, like those for fruitcakes, may have more difficulty releasing. In this case, try greasing the top of the parchment paper before adding the batter.
Parchment Paper Burns or Becomes Too Dark
Parchment paper can withstand high temperatures, but it can burn if exposed to temperatures above 450°F (232°C). If you’re baking at high temperatures, be sure to check your cake frequently, and consider lowering the oven temperature slightly to avoid this issue.
Benefits of Parchment Paper Beyond Cakes
Baking Cookies and Other Treats
Parchment paper is not just for cakes — it’s also great for baking cookies, muffins, and pastries. It prevents cookies from sticking to the baking sheet and ensures an even bake.
Roasting Vegetables
If you’re roasting vegetables, line your baking sheet with parchment paper for easy cleanup and to keep the vegetables from sticking.
Making Candy or Caramel
Parchment paper is a great tool when making candy or caramel, as it keeps the sweets from sticking to the pan. It also ensures an easy release when transferring candies from the pan.
Frequently Asked Questions (FAQ)
Q1: Can I use wax paper instead of parchment paper?
Wax paper should not be used in the oven because it can melt and catch fire. Parchment paper is heat-resistant, making it a safer choice for baking.
Q2: Does parchment paper affect the texture of my cake?
No, parchment paper will not alter the texture of your cake. It simply helps the cake release from the pan more easily.
Q3: Can I use parchment paper for non-baked items like no-bake cakes?
Yes, parchment paper is great for no-bake cakes, especially when you need to line a pan for easy removal.
Q4: How do I know if my parchment paper is oven-safe?
Most parchment paper is oven-safe up to 450°F (232°C), but be sure to check the packaging for specific temperature limits.
Q5: Can I reuse parchment paper?
Yes, you can reuse parchment paper a few times, especially for cookies or cakes that don’t create too much grease or moisture.
Conclusion
Using parchment paper is one of the simplest and most effective ways to ensure your cakes come out of the pan perfectly every time. Whether you’re baking layer cakes, brownies, or even cookies, parchment paper prevents sticking and makes cleanup easier. By following the right techniques for lining your pans and handling the paper, you can save time and frustration while producing flawless cakes every time.